Rancher Desktop on Windows
Motivation:
I asked to create my colleague to install an cloud native app. He did not have exposure to Kubernetes. This article is to demonstrate how easy to setup rancher desktop and showcase the configuration.
Rancher Desktop
Rancher Desktop is a container management app on the desktop. This brings a Kubernetes cluster for quick development or experiment of cloud native apps which are in the form of container images. The beauty of rancher desktop is its ability to selecting container runtime and quickly upgrading/reseting Kubernetes platform.
Rancher Desktop on Windows Installation Steps
Download
Download latest windows version of Rancher Desktop from here
Installation Steps with screenshots
Just like any other windows installable software, double click the downloaded software (.msi file) to begin the installation.
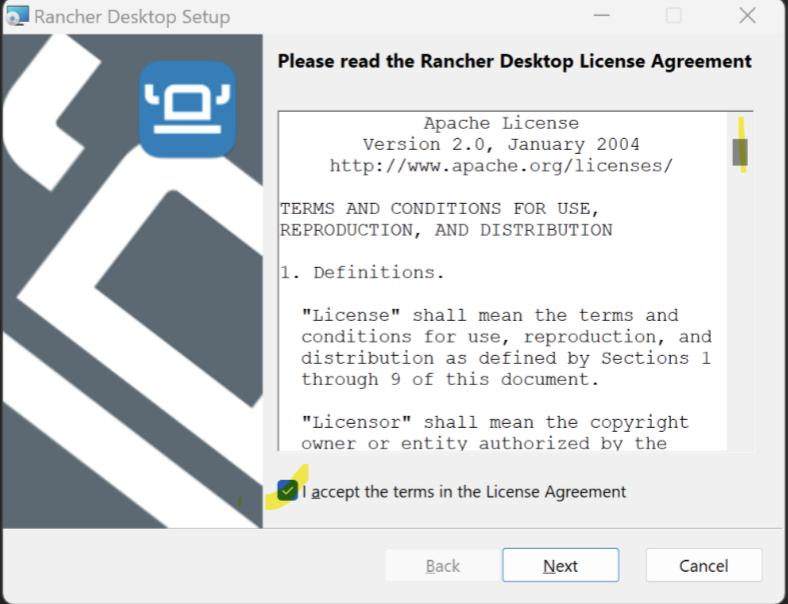
Read and agree to the license
Understanding Windows Subsystem for Linux 2(WSL2)
One of the prerequsite for running Kubernetes is the underlying operating system should allow virtualization.
Windows comes with subsystem linux which is Ubuntu.
Rancher Desktop helps us to manage Kubernetes installation. The actual container runs on top of the virtualization of Windows Subsystem Linux 2 (WSL2).
Incase WSL2 is not available in the operating system, the setup will install it.
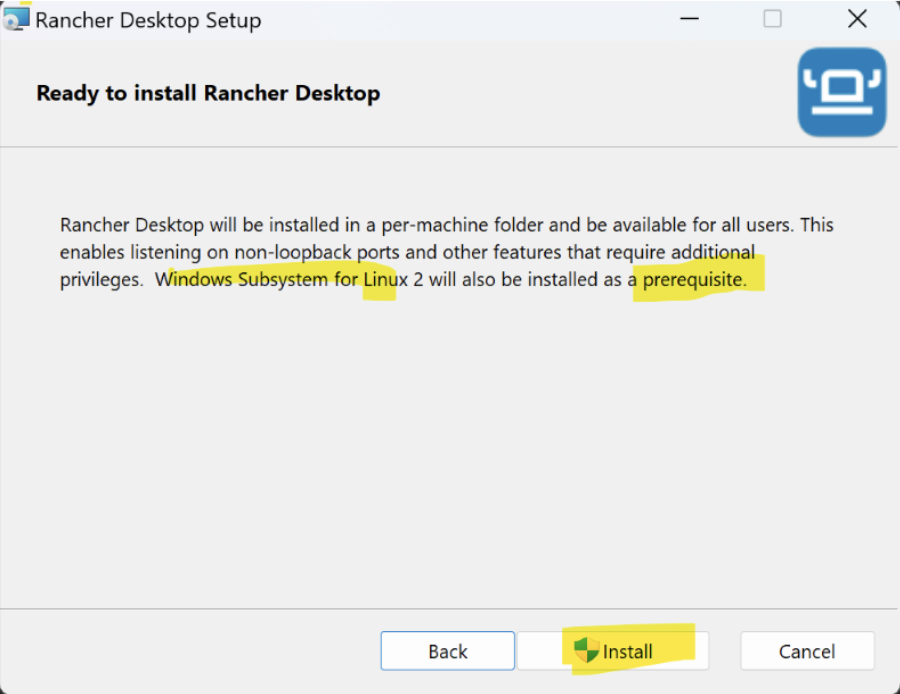
Installation in progress

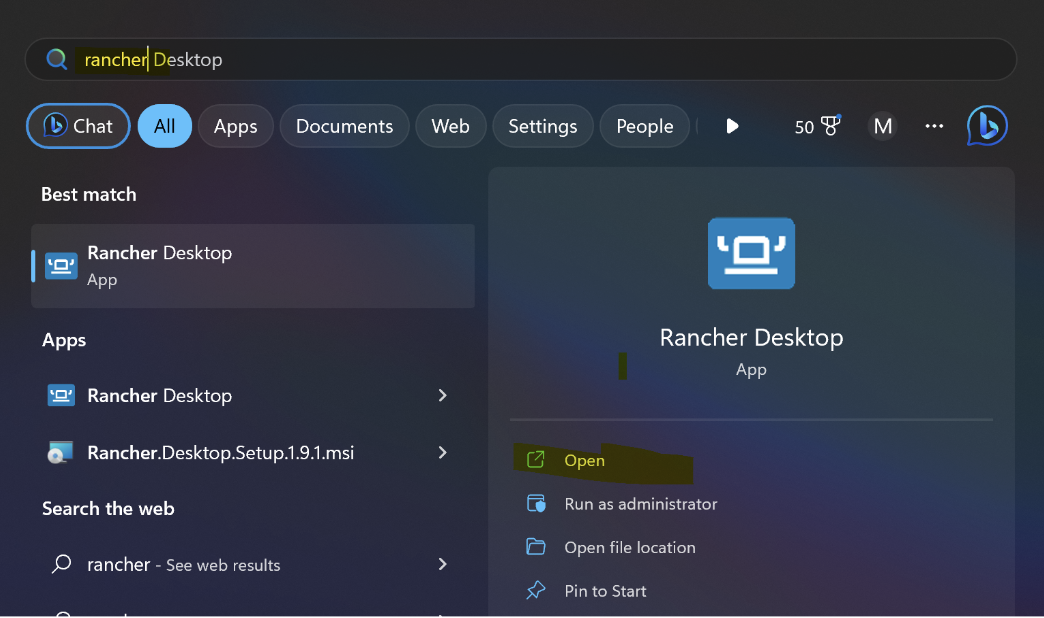
Open Rancher Desktop app
Navigate or Open Rancher Desktop app from Windows app search.
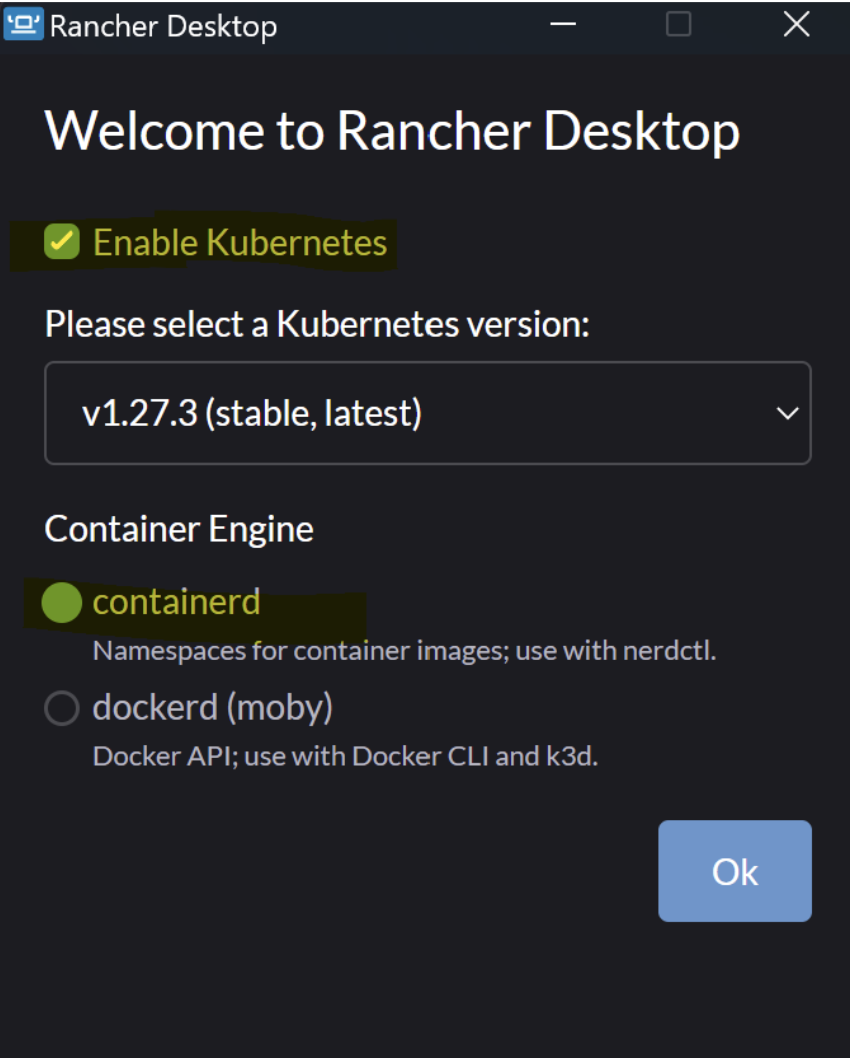
Enable Kubernetes
Rancher desktop brings the ablity to run container images. It is required to enable Kubernetes explicitly.
You have option to select the Kubernetes version.
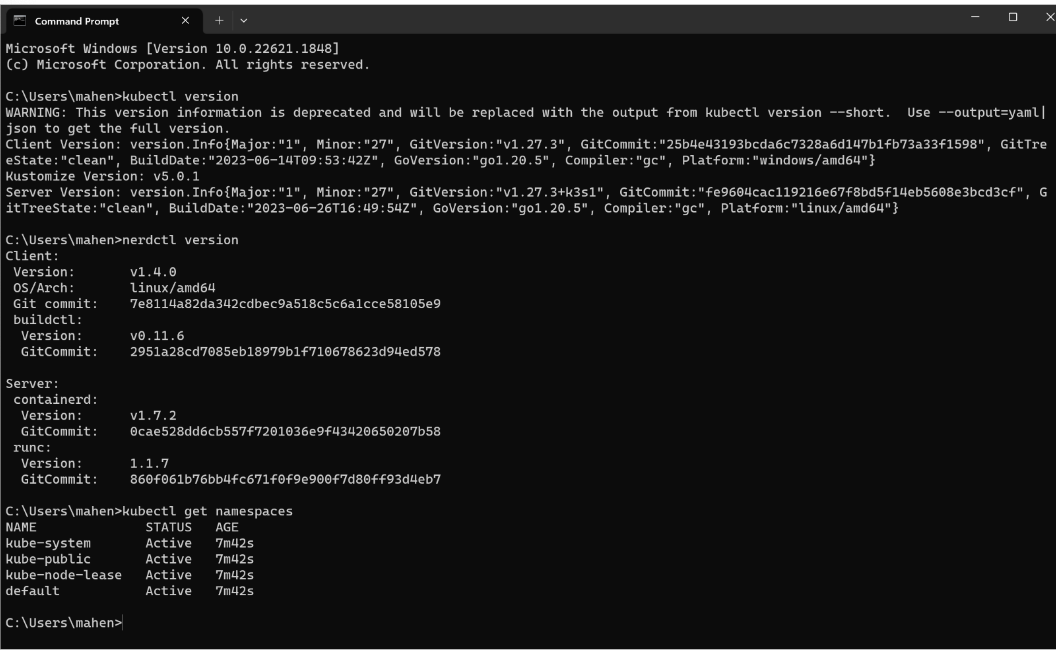
Verifying the install
Installation complete. We can check information about the install.
Troubleshooting
In case of chalenge or redeploy and test your infrastructure as code, or you just want to start fresh, it is easier to do factory reset.

References
- https://rancherdesktop.io/